 | |


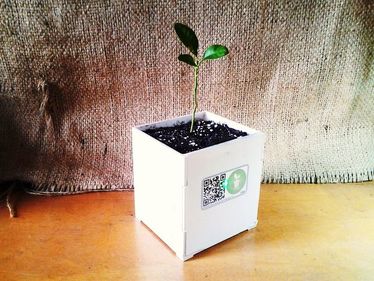
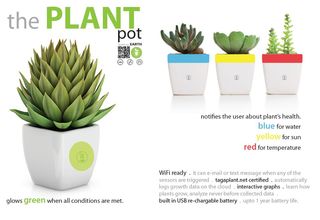
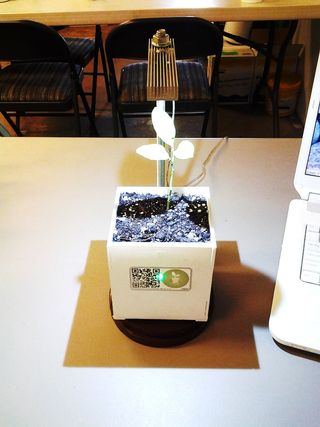
it was one year ago that i have published the plant pot - world's first stand alone smart plant pot that can email you when it's thirsty, cold, hot, sleeping etc.
a lot has changed since the first release. today I would like to share with you our latest and most stable version yet.
the plant pot is still,
open source hardware + software
solder-free, suitable for any age group
an all around educational tool
once completed the end user will know how to build circuits, write code and end up with a finished device that can teach you how to garden. no prior electronics or gardening experience needed.!!
.
here is a list of what we will be using;
wifi microcontroller
battery pack
breadboard
RGB led module
temperature/humidity module
light sensor
water sensor
jumper wires
magnets
Let Start Build
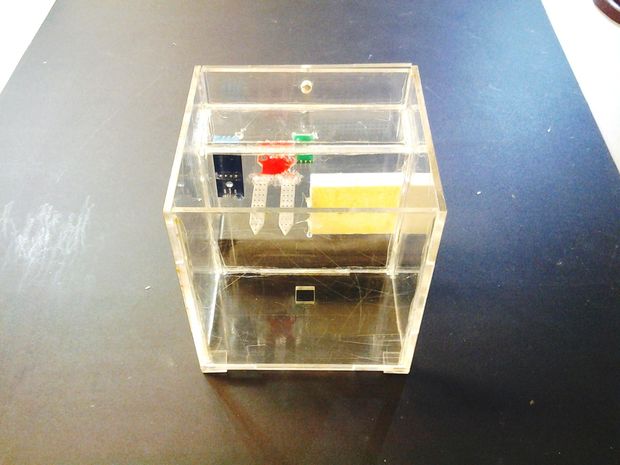
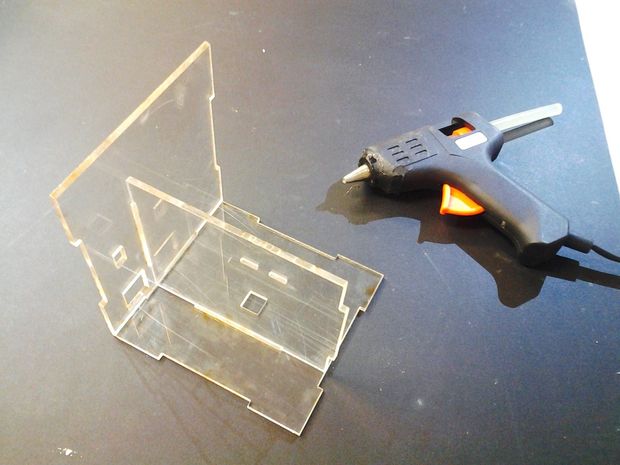
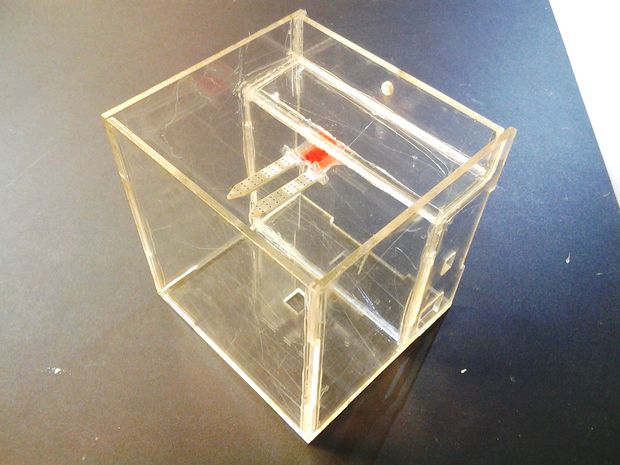
Step 1: Glue the frame
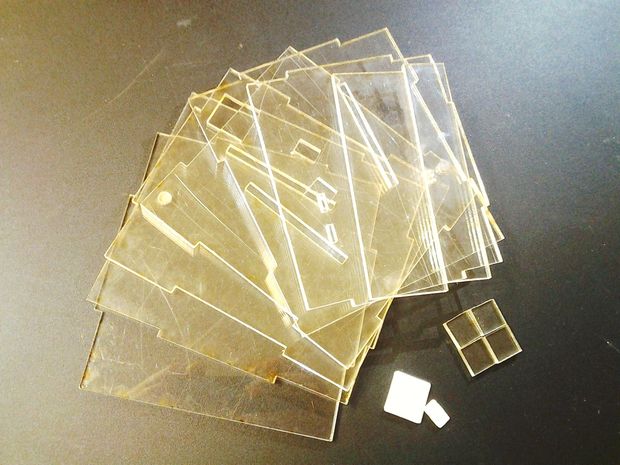
download the laser cut frame here; https://drive.google.com/file/d/0B8bvYGugxvFFaVFjT...
download 3D printed covers here; https://drive.google.com/file/d/0B8bvYGugxvFFbHJXT...
.
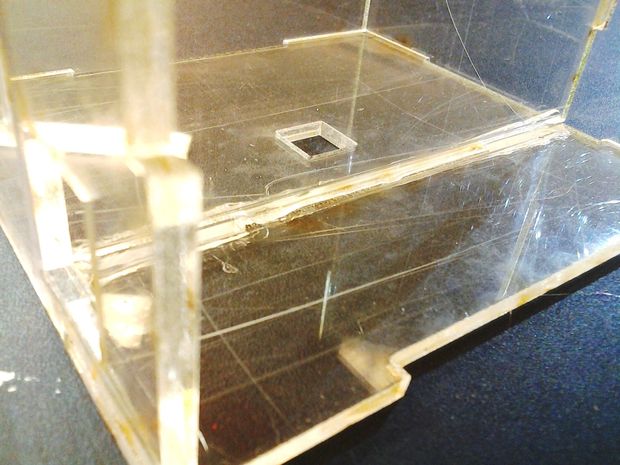
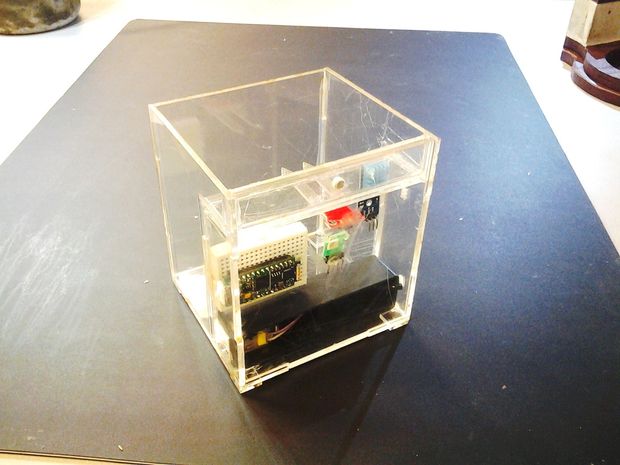
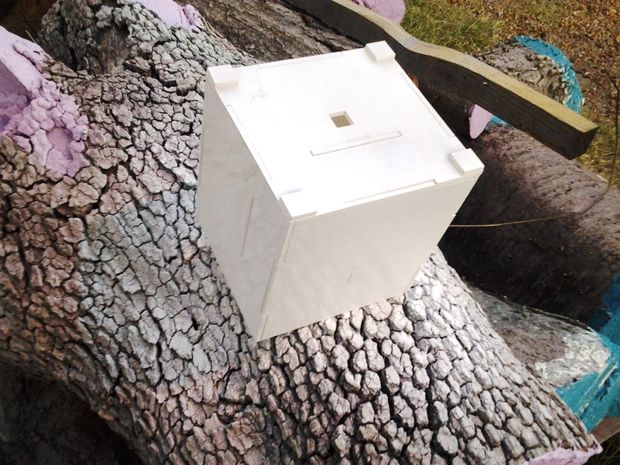
the assembly is very straight forward. hot glue one piece at a time, making sure all your joints are water sealed to protect the electronics
.
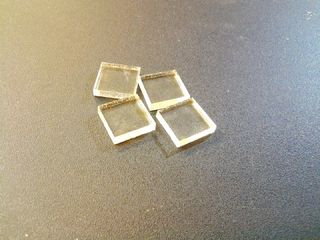
don't forget to place the magnets for the door
download 3D printed covers here; https://drive.google.com/file/d/0B8bvYGugxvFFbHJXT...
.
the assembly is very straight forward. hot glue one piece at a time, making sure all your joints are water sealed to protect the electronics
.
don't forget to place the magnets for the door
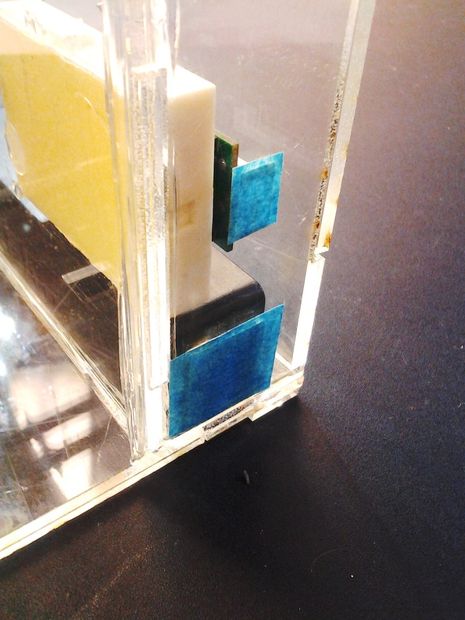
Step 2: Water sensor

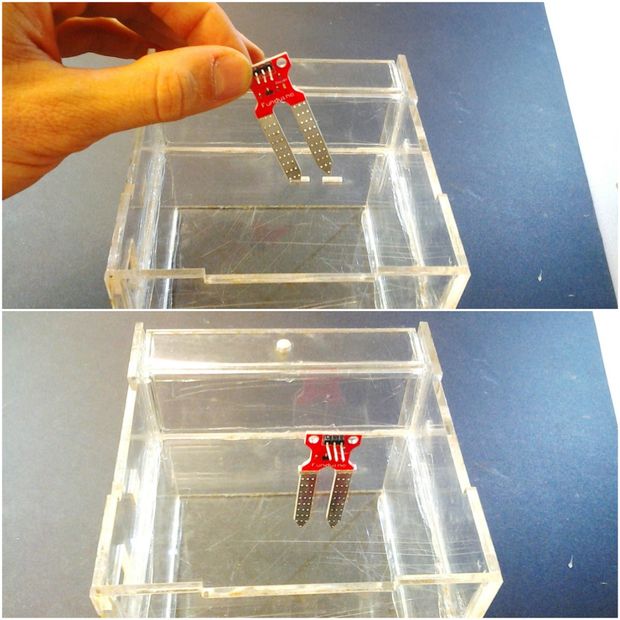
before inserting the water sensor, first carefully bend the connector legs to a 90 degree angle, this will help when wiring the circuit.
.
after this put the sensor in to the leg slots and hot glue the openings so they are water sealed as well.
.
after this put the sensor in to the leg slots and hot glue the openings so they are water sealed as well.
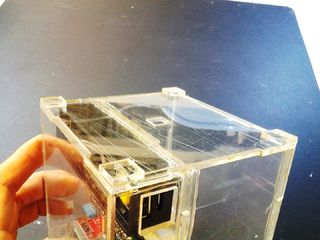
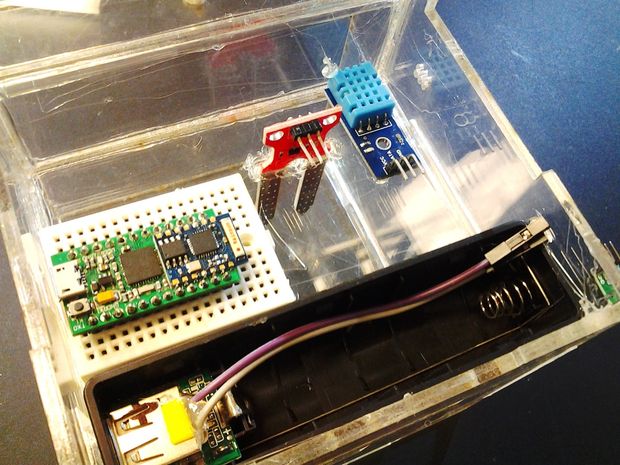
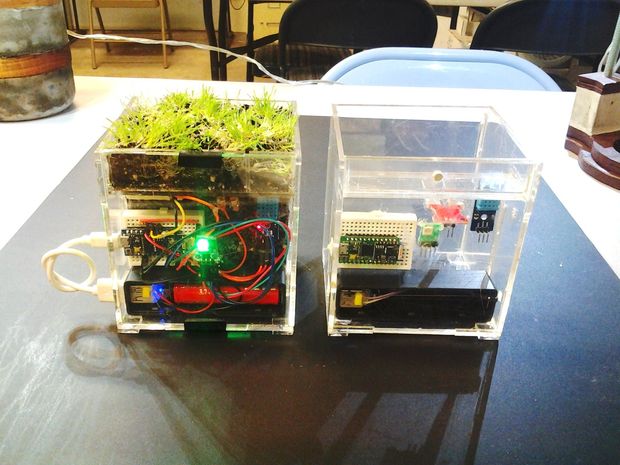
Step 3: Battery and arduino
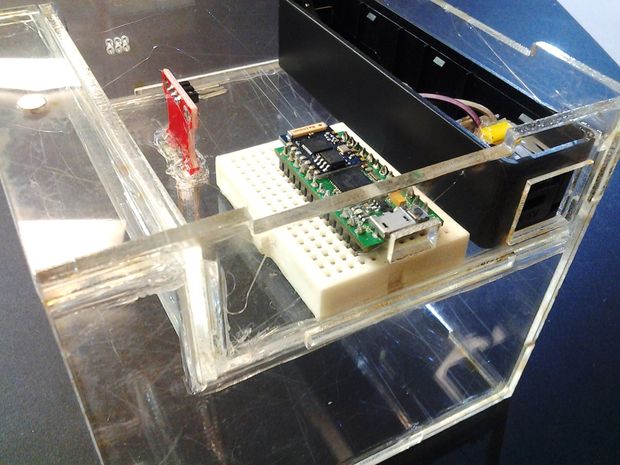
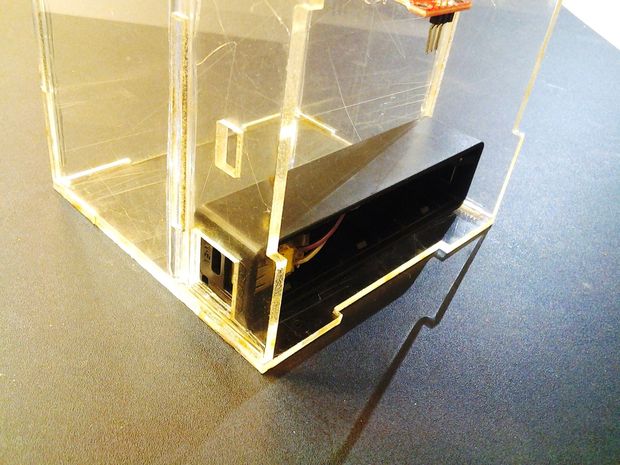
the powerbank comes with a short usb cable that you can use to power the microcontroller.
for a more discrete look, you can hack the power bank and connect it to the microcontroller internally on the breadboard.
for a more discrete look, you can hack the power bank and connect it to the microcontroller internally on the breadboard.
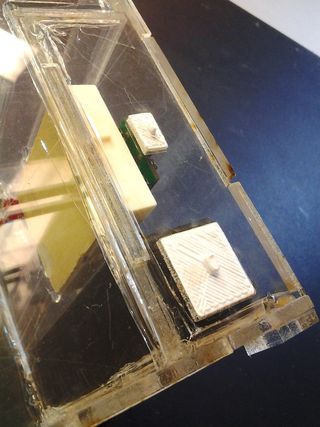
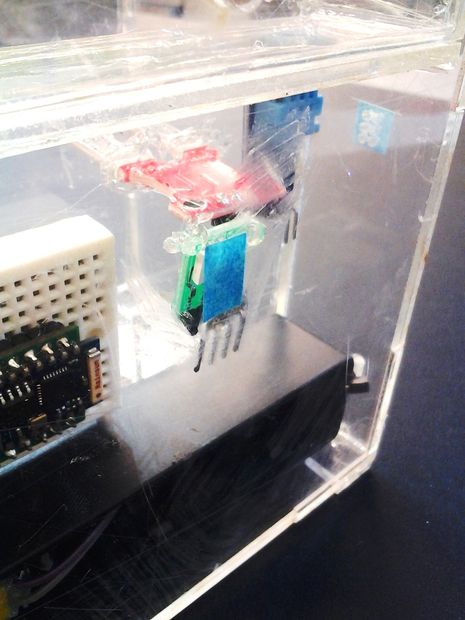
Step 4: Temperature, light sensors + RGB LED

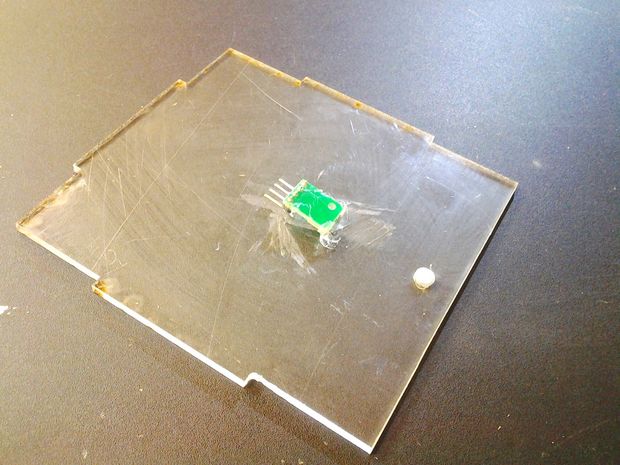
now hot glue the remaining sensors, light and temperature.
RGB LED goes on the magnetic door.
RGB LED goes on the magnetic door.
Step 5: Wiring + code

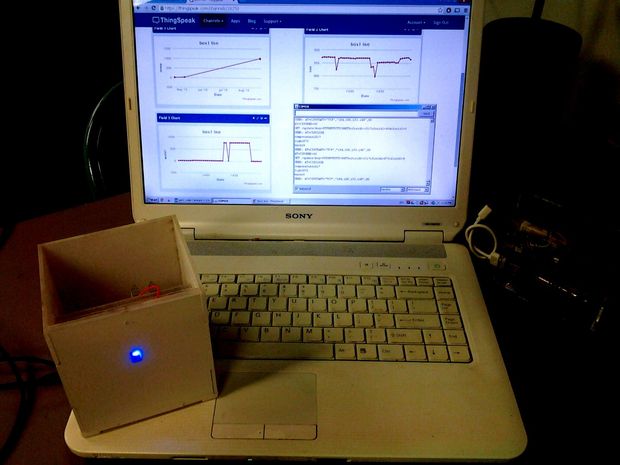
wire according to the schematics above, copy and paste the code to arduino IDE; https://docs.google.com/document/d/1lRsfeW--4nI_4O...
you can adjust light, temperature and water levels within the code. you will learn about the pattern of the location where your plant pot will be staying. and eventually get the settings just right. the pre-set numbers should be good for many plants. read more here; www.instructables.com/id/Envolysis/step2
you can adjust light, temperature and water levels within the code. you will learn about the pattern of the location where your plant pot will be staying. and eventually get the settings just right. the pre-set numbers should be good for many plants. read more here; www.instructables.com/id/Envolysis/step2
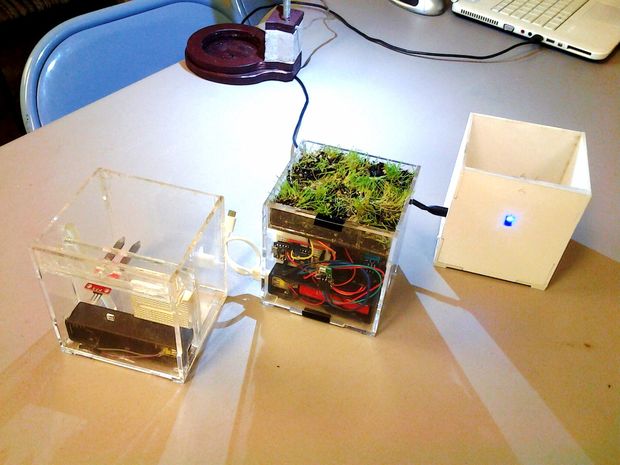
Step 6: Paint + logo
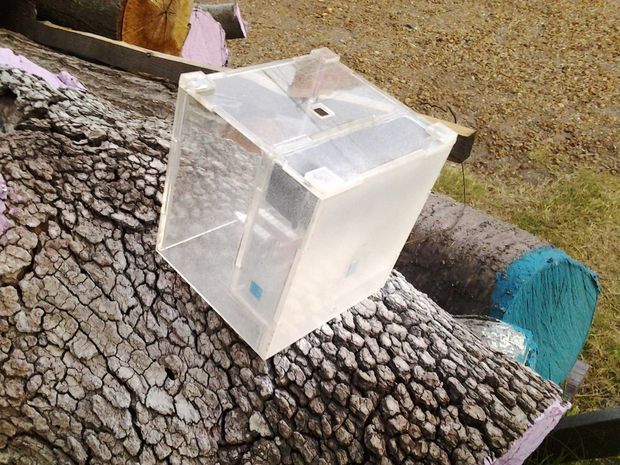

make sure to put tape around the openings to protect the electronics. i have used white matte textured spray paint. apply minimum 3 coats waiting in between minimum 30 minutes. make sure to paint outside.!!
.
download the official logo here; https://drive.google.com/file/d/0B8bvYGugxvFFUlNBV...
.
download the official logo here; https://drive.google.com/file/d/0B8bvYGugxvFFUlNBV...
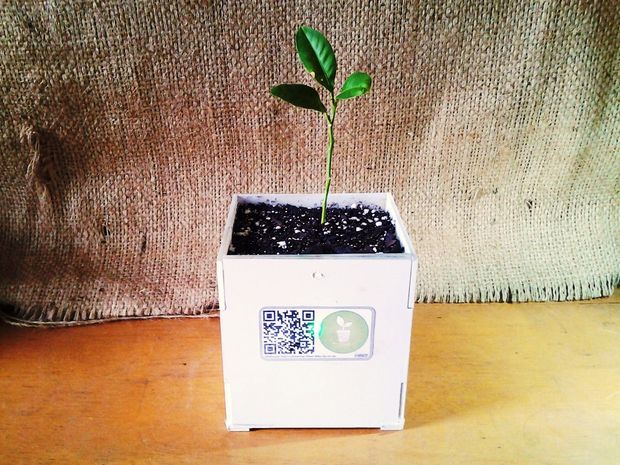
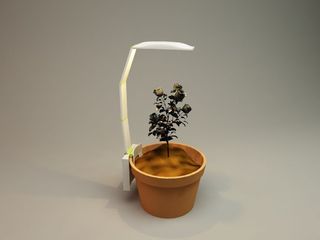
Step 7: Soil + seeds or plants
it is now time to add soil and seeds or plants depending on which route you would like to take.. here are a few good instructables on how to start plants from seeds;
. http://www.instructables.com/id/3-Days-from-Seed-t...
. http://www.instructables.com/id/How-to-Start-Seeds...
here is another instructable on showing you how to transplant an already grown plant;
http://www.instructables.com/id/re-pot-a-Plant/
. http://www.instructables.com/id/3-Days-from-Seed-t...
. http://www.instructables.com/id/How-to-Start-Seeds...
here is another instructable on showing you how to transplant an already grown plant;
http://www.instructables.com/id/re-pot-a-Plant/
Step 8: Conclusion

my dream is to teach the world how to garden and build electronics. combining the two just makes things better. i believe that in the future (very near) all plant pots will be "smart"
.
thank you everybody for your support. please favorite and share this post with friends + family. also like us on www.facebook.com/theplantdoctor2014
by Akin Yildiz
.
thank you everybody for your support. please favorite and share this post with friends + family. also like us on www.facebook.com/theplantdoctor2014
by Akin Yildiz
 RSS Feed